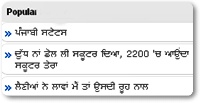
 You & your readers want to know that which posts are popular in your blog. You can use blogger's official Popular Post widget. This widget could show a snippet of your most viewed posts along with a thumbnail. You can add this widget easily from "Add a Gadget" option. But I want to tell you that you can customize blogger's official popular posts widget with your own color & fonts.
The most powerful benefit of this widget is that you don't need to install any heavy Javascript because you are using a widget stored on Blogger's servers. Must share your experience about this tutorial at the end of the post.
Recommend For You: Customize Blogger's Official Follow By Email Widget
Adding Popular Posts Widget To Blogger
- Go To Blogger Dashboard > Click On Design
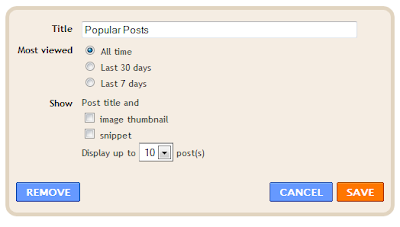
- Click on Add a Gadget and Select The "Popular Posts" Gadget
- Now Make These Changes : Most Viewed - All Time, Show - Un-check image thumbnail and snippet
]]></b:skin>8. Just Above It Paste The Following CSS Code (Copy Given Code)
/*--- BD Popular Posts --- */
.popular-posts ul{padding-left:0px;}
.popular-posts ul li {background: #FFF url(https://blogger.googleusercontent.com/img/b/R29vZ2xl/AVvXsEg5XThOb6mDumBbJY0E9SH1M502Fg-hU5KE4GqKMsUeKag3chjwvL3wrIGZ08OLIl19MW5Kys5JjwrqRCx8o6FZsLr55-gdz0bOWdy57VrLn1Gvj5huG0IBa2L9pU1rIlrJyPDme_CIVkM/s1600/PPW.gif ) no-repeat scroll 5px 10px;
list-style-type: none;
margin:0 0 5px 0px;
padding:5px 5px 5px 20px !important;
border: 1px solid #dddddd;
border-radius:10px;
-moz-border-radius:10px;
-webkit-border-radius:10px;
}
.popular-posts ul li:hover {
border:1px solid #389CFF;
}
.popular-posts ul li a:hover {
text-decoration:none;
}
Customize The Default Look Of The Widget:
- To change the bullet image replace the image URL in bolded black in the code above with your bullet URL.
- To change the border color in active mode edit #dddddd
- To change the border color on mouse hover edit #389CFF


0 comments:
Post a Comment